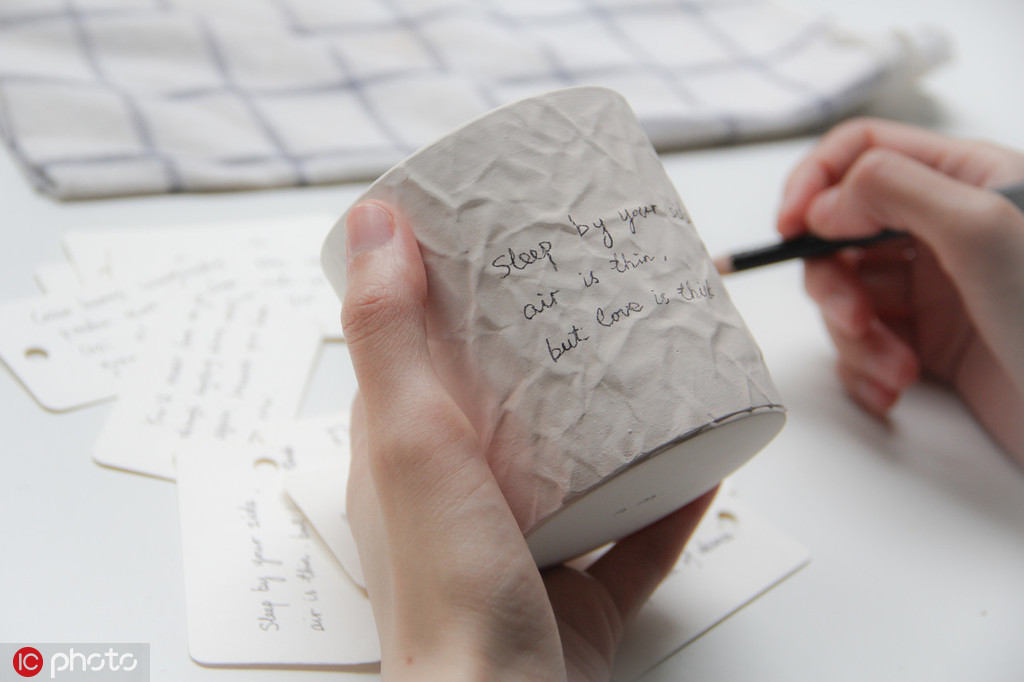
Create Your Own Unique DIY Travel Mug: A Step-by-Step Guide to Personalizing Your Coffee Experience
### Introduction to DIY Travel MugIn today's fast-paced world, a DIY Travel Mug has become an essential accessory for coffee lovers and tea enthusiasts alik……
### Introduction to DIY Travel Mug
In today's fast-paced world, a DIY Travel Mug has become an essential accessory for coffee lovers and tea enthusiasts alike. Not only does it keep your beverages hot or cold for hours, but it also allows you to express your personal style. This guide will walk you through the steps of creating a unique DIY Travel Mug that reflects your personality and meets your functional needs.
### Why Choose a DIY Travel Mug?
When it comes to travel mugs, there are countless options available on the market. However, a DIY Travel Mug offers a unique opportunity to customize your mug in a way that store-bought options cannot match. You can choose colors, designs, and materials that resonate with you, making your mug not just a vessel for your drink, but a piece of art that you can carry with you. Additionally, creating your own mug can be a fun and fulfilling project, allowing you to unleash your creativity.
### Materials Needed for Your DIY Travel Mug
To get started on your DIY Travel Mug project, you will need a few essential materials:
- A plain stainless steel or ceramic travel mug
- Acrylic paint or paint markers

- Paintbrushes (if using paint)
- Stencils (optional)
- Clear sealant (for durability)
- Rubbing alcohol (for cleaning)
- Tape (for stenciling)
- Personal photos or printed designs (optional)

### Step-by-Step Guide to Making Your DIY Travel Mug
1. **Prepare Your Mug**: Start by cleaning your travel mug with rubbing alcohol to remove any oils or residues. This step is crucial for ensuring that your paint adheres properly.
2. **Design Your Mug**: Before you start painting, sketch out your design on paper. This could be anything from inspirational quotes to intricate patterns. If you're using stencils, secure them to the mug with tape to prevent movement while you paint.
3. **Painting**: Using your acrylic paint or paint markers, carefully apply your design to the mug. If you're using a paintbrush, make sure to use thin layers to avoid drips. Allow each layer to dry before adding more details.
4. **Add Personal Touches**: If you want to incorporate personal photos or printed designs, you can decoupage them onto the mug using a clear sealant. This will give your mug a unique, personalized touch.
5. **Seal Your Design**: Once you're satisfied with your artwork, apply a clear sealant to protect your design from scratches and wear. Make sure to follow the manufacturer's instructions for drying times.

6. **Final Touches**: After the sealant has dried, give your mug a final inspection. Touch up any areas that need more paint or sealant, and make sure everything is securely in place.
### Enjoying Your DIY Travel Mug
Once your DIY Travel Mug is complete, it's time to enjoy your personalized creation! Fill it with your favorite beverage and take it on your daily commute, to the gym, or on your next adventure. Not only will you be able to enjoy your drink at the perfect temperature, but you'll also be showcasing your creativity and personal style.
### Conclusion
Creating a DIY Travel Mug is not just about having a functional item; it's about making something that is uniquely yours. Whether you want to make a gift for a friend or simply treat yourself, this project is a fantastic way to express your creativity. So gather your materials, unleash your imagination, and start crafting your very own DIY Travel Mug today!